Today we're making the yellow flower in bottom center of the above photo.
Supplies:
Man-Made Fabric (here I've used polyester but any fabric such as satin, rayon, nylon, etc. will do)
For this flower, I've also used tulle and burlap
Hole Punch (if using a brad)
Scissors
Circle Templates or Dies (Find templates here)
Candle
Lighter or Matches
Brads or Buttons
Small Hole Punch
Tweezers
Bowl of Water for accidents


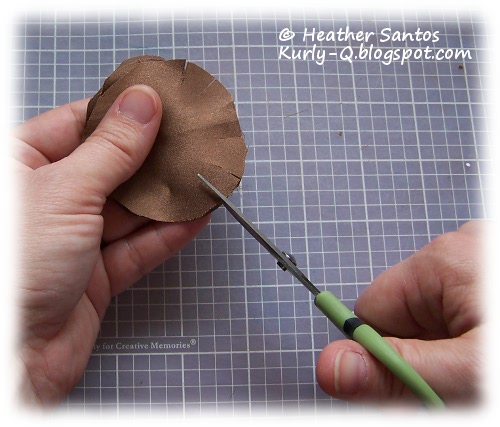
STEP 1: First you will cut 1 fabric circle of each size and each fabric except the smallest and largest circle. Cut only the polyester and burlap out of the smallest circle size. Cut 1 layer of tulle out of the largest circle size. So for this flower, you will have 9 circles. You basically need 4 sizes, each one slightly bigger than the next. Here I’ve used 1 ½ inches, 2 inches, 2 ½ inches & 3 inches. (the tulle is very hard to see in the photo below)




STEP 2: Carefully hold the man-made fabric circles (NOT THE BURLAP - nothing good can come from mixing burlap and fire!!!!) next to the candle one at a time. You can use your fingers or the tweezers. The heat will melt the fabric on the edges. You are not trying to catch the fabric on fire, just melt the edges. This is where your bowl of water comes in just in case the fabric catches on fire. Also singe the tulle this same way. Be careful when singeing your tulle, it shrinks up quickly. The tulle layers are cut a size bigger to account for this excess shrinkage.

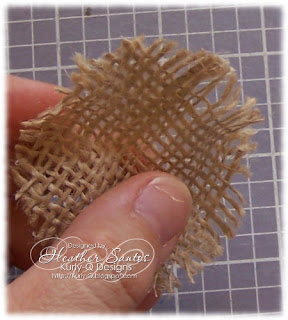
STEP 3: Next we will slightly distress the burlap. Simply wad it up in a ball, then open it up. Remove any stray strands that are hanging out of the edges.


STEP 4: Now just stack your circles from largest (on the bottom) to smallest. For this flower each layer had Burlap on the bottom, polyester in the middle and tulle on the top.

STEP 5: The final step is to fasten everything together. Here I've sewn a button on. You could also use a hole punch in the middle and stick a brad through all the layers. Then there's always glue. :)


Additional Tips:
- This flower can be made with only 1 fabric per layer for a much simpler, lollipop look. (see the purple and pink flowers in the top photo)
- You can adjust the sizes to fit your needs. The melting gets difficult when using sizes smaller than 1 inch.
- I often make small matching flowers using less layers or smaller sizes of circles.
- The softer, more flexible fabric requires more layers. Stiffer fabric requires fewer.
- Try alternating fabric colors for the layers to match your color scheme.
- These look great with only a layer of tulle added in between. Be careful when singeing your tulle, it shrinks up quickly. You may want to make your tulle layers a little bigger to account for this.
- Use your ink or markers to color white fabric to match your design. Be sure to give the ink time to dry before you singe it though. Some inks (especially alcohol) are highly flammable when still wet.
- Try adding Stickles or glimmer mist for additional accents.
- Try attaching your flowers to hair clips, headbands, barrettes and brooch pins (for clothing or handbags).